Can Holes Be Repaired In Metal Roofing Systems?

Repairing Holes Metal Roof

When they are properly installed, metal roofs boast the longest lifespan of any roofing material on the market. While most roofs may last up to 30 years, metal roofs can last up to 100! But longevity is not to be mistaken with indestructibility. Harsh weather conditions, much like the kind we experience in Canada, can take its toll on even the strongest roof. So what do you do when that toll results in one, or several, holes on your metal roof? Let’s talk about how holes can be repaired in metal roofing systems!

Can Holes Be Repaired In Metal Roofing Systems?

The short answer – yes! The longer answer is that how successful that repair is ultimately depends on a couple factors.

  • The material used to patch the hole should be as close to the original material as possible to ensure similar expansion and contraction rates. This will help prevent stressing the patch area.
  • The weather the day of can also result in contraction and expansion of the patch area. This can result in splitting, cracking, and eventually, failure of the repair. 

How To Repair Holes In Metal Roofs

Whether you’re a DIYer or simply interested in the process, this is how we would recommend repairing a hole in your metal roof.

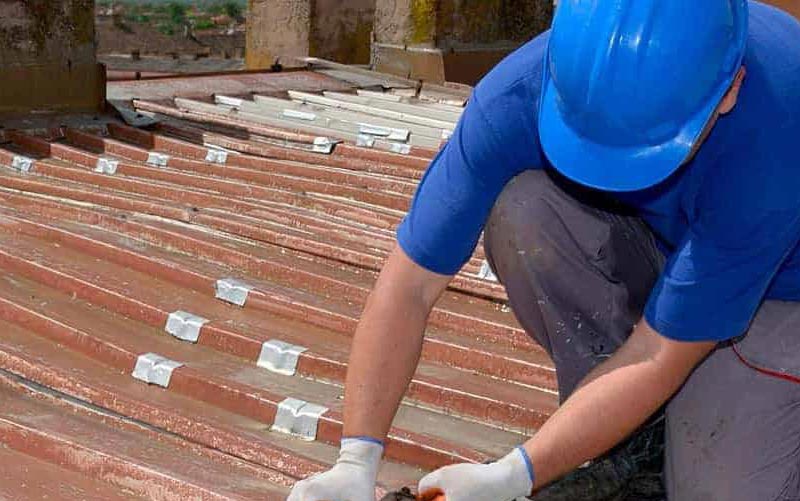
  1. Clean The Repair Area. Before beginning any metal roofing repair project, the repair area must be thoroughly cleaned, including the surface and the surrounding areas. If the hole in your roof was caused by rust, the, rust must be removed entirely. Alternatively, fallen branches or trees may be the cause of the damage. No matter how the damage occurred, it must be cleaned off entirely before repair can occur. 
  2. Scuff The Metal. Once the metal is clean, a wire brush should be used to scuff the repair area. These scuffs will help the sealant bond fully to the metal of the repair area.
  3. Measure Repair Area & Cut Material. After measuring the repair area, cut the panel at least 2 inches past the edges of the repair area. Once it has been cut and fit, round the edges to prevent sharp corners from catching snow or ice. 
  4. Install The Patch For Repair. Using a color-matched urethane sealant, apply the metal patch to the area that needs repair. Don’t be shy! You want to avoid gaps around the patch. Then, firmly press the patch over the damaged areas until the sealant squeezes from the edges of the patch.
  5. Fully Secure The Patch. Once the patch has been put in place, use pan-head sheet metal screws to fully secure the patch to the roof. Lastly, use a putty knife to remove any sealant coming from the edge of the patch. Note, it typically takes a week for the sealant to cure entirely.

Need to repair your metal roof? Contact us at info@ecoinsulatedpanels.com or 1.855.838.9393 to see if we have a panel that’s right for you.

What Color Should You Choose for a Metal Roof?

One of the most exciting parts of deciding on a metal roof for your structure is undoubtedly choosing which color panel to go with. That being said, this is simultaneously one of the hardest decisions a home or business owner will need to make. After all…there are so many colors to choose from, and these panels can last decades! But it is important to not get lost in the abundance of options. That’s why we have put together some tips for helping you choose which color to go with on your metal roof.

Tip #1: Consider The Type of Panel

The type of metal panel you have can be a determining factor in what colors are available to you. A standing seam metal roof is most often paired with a PVDF Paint System. PVDF Systems come in an array of color choices including metallic, bright and vibrant colors, matte finishes, and even designer paint finishes! These systems also hold their integrity longer than other paint systems, such as the SMP Paint System commonly found in exposed fastener roofing panels.

Tip #2: Consider The Paint Quality

It is crucial to select a high-quality paint finish for your metal roof that will stand up to the elements, while looking fresh and new for years to come. Make sure to choose a paint that has been treated with a special acrylic resin that blocks ultraviolet light. It will help prevent premature fading, peeling, corrosion, rust, and water infiltration. We suggest paints labeled as either Kynar 500 or Hylar 5000.

Tip #3: Consistency is Key

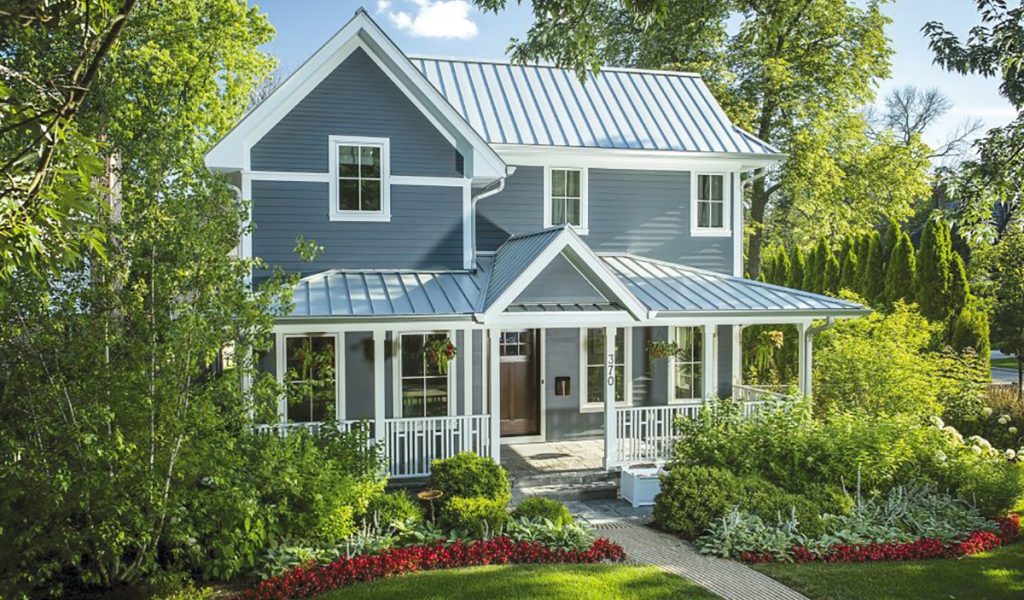
It’s critical to match the metal roofing color to your house. You want the color to blend in with your neighborhood, environment, and property. It should complement all of the surrounding features. You can compare paint samples side by side with features of your home to see how they will blend together – both in daylight and in the dark. You may also want to consider the existing architecture. A modern home will enjoy blacks, bronzes, coppers, and grays. While a spanish style home may enjoy more of a clay or rusted look. A tropical style home may be more vibrant, playing with sage green or metallics. 

Tip #4: Consider The Energy Efficiency

Metal roofing in a lighter color will reflect the heat of the sun much better than a darker colored metal roof. Lighter colored roofs will help safeguard your roof from intense heat. In fact, a lighter colored roof can decrease your energy bill. If you live in a hot climate and want a dark colored metal roof then you should consider a “ Cool Metal Roof “ in a dark color. This will allow you to go with a dark metal roof and it will lessen the impact of the darker color versus the lighter color.

Have more questions? Our qualified team of professionals would be happy to help you! Contact us today at 519-451-7663 or info@ecoinsulatedpanels.com.

Top Tips For Designing With Insulated Metal Panels

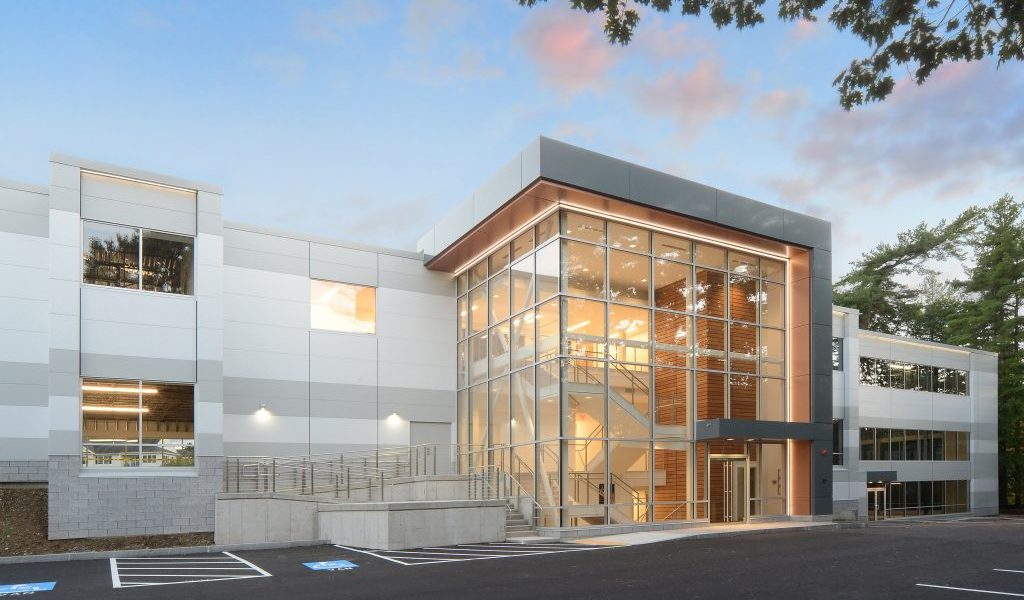
Insulated Metal Panels (IMPs) can be used on virtually any type of facility as an exterior or interior cladding system. In terms of design, IMPs offer construction teams numerous benefits! These benefits include easy installation, continuous barrier to the elements, and even the minimization of heating and cooling costs! In order to get the most out of this efficient and cost-effective system, it is important for designers to pay close attention to how the IMPs interface with the rest of the building. In this article we’ve comprised our Top Tips for Designing With Insulated Metal Panels to help your building achieve optimal performance!

Tip 1: Avoid Thermal Bridging

Thermal bridging occurs when one material spanning from the exterior of the wall to the interior of the wall is more conductive than the other materials around it. This displacement creates a bridge through the wall’s thermal barrier, allowing for the accelerated flow of heat, leading to condensation and eventually deterioration. How can one combat thermal bridging? Paying attention to joint detailing, roof to wall transitions, and transitions from IMPs to other materials. 

Tip 2: Select A Proper Sealant

Sealants are a critical component to the overall IMP system. The exterior metal on the IMP will naturally expand and contract with changes in temperature, which can cause panels to bow and shift. A proper sealant will provide durability and flexibility that help withstand this strain on sealant joints. Design teams should carefully consider the climate, solar exposure, wind exposure, and humidity exposure when selecting sealant joints. The sealant should be able to withstand climatic conditions as well as anticipated structural movement.

Tip 3: Seal From Air And Water

Windows and doors provide an opening for air and water to get in. It is essential that these openings are properly detailed to prevent exposure to climatic conditions. Design teams and contractors should also pay special attention to wall to roof transitions and other penetration areas, such as vents, security cameras, etc. 

IMPs are an excellent way to clad a building in energy efficient materials. In order to make the most of this material, designers and contractors should work closely to ensure the quality and integrity of the IMP system. We hope our tips help! For more information on IMPs, contact our qualified team of professionals at 519-451-7663 or info@ecoinsulatedpanels.com.